
How to Remove Ink Stains from Clothes: A Real-World Recovery Guide
The Science of the Save: How to Remove Ink Stains from Clothes
We have all experienced that sudden jolt of panic. You are in a high-stakes meeting, clicking your favorite pen, or perhaps you are rushing to finish a grocery list before the store closes. Then, it happens: a tiny slip, a leaky cartridge, or a toddler with a sudden artistic vision. Suddenly, your favorite white blouse or those expensive designer jeans are marred by a stubborn, dark smudge.
Your first instinct might be to assume the garment is a total loss. However, as someone who spent years figuring out how to manage textile care and laundry restoration, I can tell you that ink removal is not a matter of luck—it is a matter of chemistry. When you understand how pigments and solvents interact, you can handle any ballpoint pen disaster with absolute poise.
In this guide, we will explore the practical secrets to wardrobe restoration. From analyzing the molecular structure of ink to using high-performance stain removers, I will show you how to be the hero of your own laundry room.

1. The Golden Rule of Stain Management: Do Not Scrub
The most common error in stain treatment is a reactive, high-friction response. When people see a fresh ink spot, they often grab a wet cloth and begin scrubbing vigorously. This is the fastest way to ruin a good piece of clothing.
In the world of fabric conservation, scrubbing is the ultimate enemy. Friction does not lift the ink; instead, it drives the dye particles deeper into the interwoven fibers of the cloth. Furthermore, it spreads the perimeter of the stain, turning a manageable dot into a massive, blurred mess.
I once helped a friend who suffered a fountain pen leak on a brand-new silk dress. In her panic, she ran it under hot water while vigorously applying hand soap. By the time I saw the garment, the ink had “heat-set” into the delicate fibers so permanently that even industrial-grade solvents could not move it. The professional approach is simple: Blot, do not rub. Use a highly absorbent paper towel and apply firm, vertical pressure to wick away excess liquid before it dries.
2. Classifying the Culprit: Identify Your Ink Type
To choose the right cleaning agent, you must first identify what you are fighting. Different inks require different chemical “keys” to unlock them from the fabric.
Ballpoint Pen Ink (Oil-Based)
This is the most frequent offender. Ballpoint ink is thick, fast-drying, and oil-based. Because it is hydrophobic, standard water-based soaps are largely ineffective. To break the bond between the oil and the fabric, you require an alcohol-based solvent.
Water-Based Ink (Gel Pens & Rollerballs)
These inks are slightly more forgiving. Since the carrier for the color is water, you can often find success using liquid laundry detergents and lukewarm water. However, if they are allowed to dry and oxidize, they can become remarkably stubborn.
Permanent Markers (The Final Boss)
Permanent ink is engineered for longevity. It contains specific resins and polymers that allow it to adhere to non-porous surfaces. To combat this, you need high-concentration isopropyl alcohol or specialized, heavy-duty ink eradicators.
3. The Step-by-Step Professional Restoration Process
Follow this rigorous cleaning protocol to maximize your chances of a full recovery for your favorite clothes.
Step 1: Fabric Analysis
Before applying any chemical treatment, consult the laundry care label. If the garment is labeled “Dry Clean Only,” do not attempt a DIY fix; take it to a specialist. For standard cotton, polyester, or linen, you may proceed.
Step 2: The Spot Test
Apply a small drop of your chosen solvent to an inconspicuous area, such as an inside hem. This ensures the chemical cleaner will not cause color bleeding or damage the structural integrity of the cloth.
Step 3: Solvent Application
For oil-based stains, lay the garment flat. Place a clean microfiber cloth directly underneath the stained layer. This serves as a transfer pad to catch the ink as it is flushed through the fabric. Apply your isopropyl alcohol or ink remover directly to the spot.
Step 4: Controlled Extraction
Using a fresh cotton swab or paper towel, press down firmly on the stain. You will observe the pigment transferring from the clothing to the towel. Continue rotating to a clean area of your towel to prevent re-deposition of the ink onto the fabric.
Step 5: Emulsification
Once the visual pigment is mostly gone, apply a small amount of enzyme-based detergent to the area. This helps break down any remaining organic binders or oils. Let it sit for about 15 minutes.
Step 6: The Cold-Water Flush
Rinse the area with cold water. A critical tip to remember is to never use hot water during the removal process. Heat acts as a catalyst that thermally sets the dye into the fabric forever.
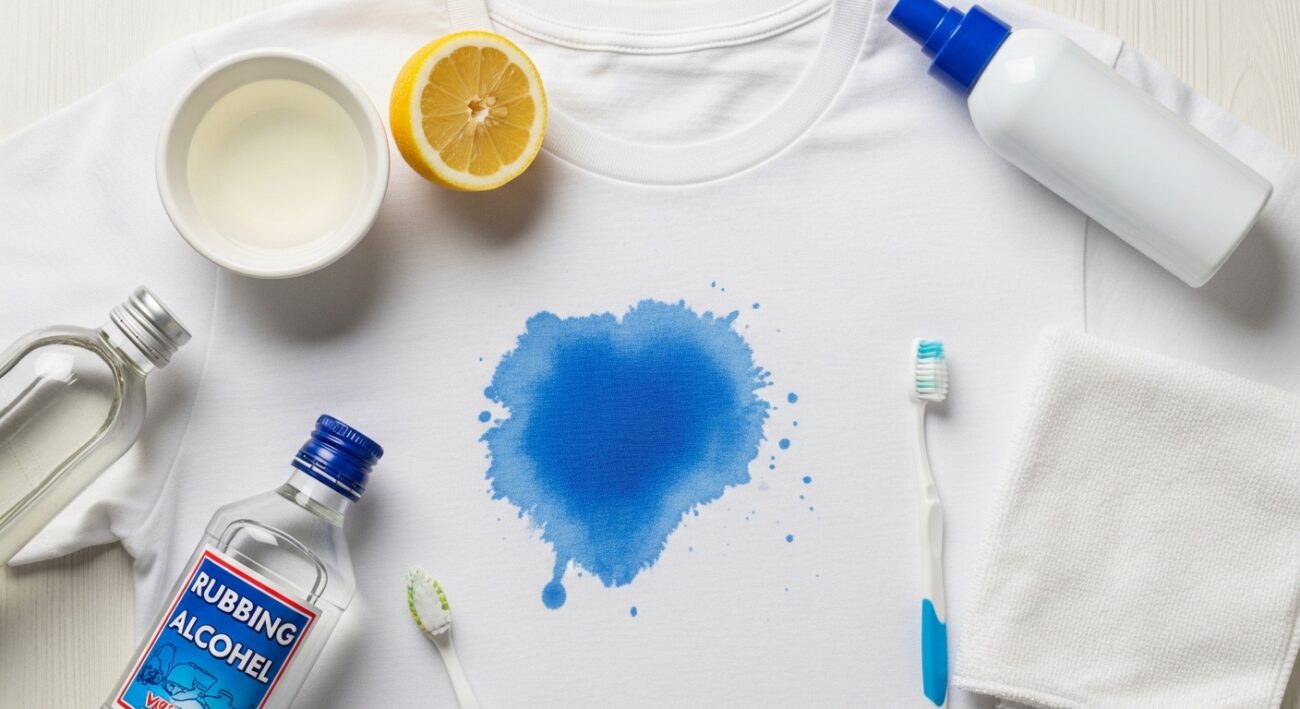
4. Strategic Household Substitutes
If you lack professional supplies, these common items can act as temporary surfactants or solvents in a pinch:
- Hand Sanitizer: Its high ethanol content makes it a fantastic portable ink solvent when you are away from home.
- White Vinegar & Dish Soap: A 1:1 mixture creates an acidic cleaning solution that is highly effective against gel pen marks.
- Milk Soaks: For delicate knits, soaking the area in whole milk overnight can help lift the ink via the fat globule interaction.
5. Why You Should Invest in Professional Ink Removers
While “life hacks” are helpful in an emergency, they often leave behind unwanted side effects. Many hairsprays now contain conditioners and oils that leave a permanent yellowish residue that is harder to remove than the original ink.
To protect your high-value wardrobe, you need a specialized formula. Professional-grade ink stain removers are designed to target the molecular bonds of the ink without stripping the dye of the garment itself.
Invest in quality. Having a bottle of high-performance stain remover in your laundry room is a small price to pay for the ability to save an expensive shirt. It provides the reliability and confidence you need to act fast when disaster strikes.
6. Expert Summary: Errors to Avoid
- Ignoring the Dryer: Never put a garment in the tumble dryer until the stain is 100% gone. The high heat of the dryer is the point of no return.
- Using Bleach Too Soon: Chlorine bleach can react with certain inks and actually turn them yellow or purple permanently.
- Delaying Treatment: The longer the ink sits, the more it oxidizes and bonds with the fabric. Immediate action is your best friend.

Conclusion
Ink happens. It is a byproduct of a productive and creative life. But with the right technical knowledge and the proper cleaning tools, an “oops” moment does not have to be a permanent tragedy. By following this systematic guide, you can maintain a flawless wardrobe regardless of how many pens decide to leak.